Transition Mirror Install Instructions

From Archive | Chen Chen & Kai Williams
Jump to navigation Jump to search

(***)The included anchors and screws can be used to affix this mirror to the wall. However, due to the variability of wall types, the ultimate responsibility lies with the installer to determine the correct anchors and screws to use.
Instructions
Images Description Notes
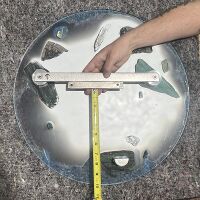
Facedown.jpg 1. Lay mirror gently face down on a flat, padded surface. Hold cleat to bottom of the crossbar and measure the distance from the bottom of the mirror to the bottom of the cleat. This will give you a reference measurement for placing it on the wall.
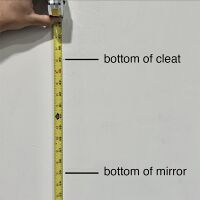
Wallmeasurements.jpg 2. Measure from the ground (or surface) where you would like the bottom of the mirror to start and add the measurement from step 1.

The mirror can move slightly on the cleat from side to side so an approximate placement of the lateral center is fine.

For example, if you want the bottom of the mirror to be 55” off the ground, add 10” and the bottom of the cleat should sit at 65”
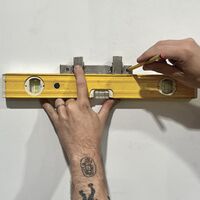
Cleatlevel.jpg 3. Level the cleat and use a pencil to mark where to drill for the anchors***. If using the orange anchors provided, use a 15/64” bit to drill the holes. Tap in the anchors lightly with a hammer until flush with the wall. Hold cleat in place and use the 2” #8 screws provided to attatch it to the wall. The cleat should feel secure with no movement.
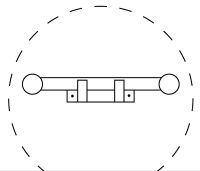
Cleatdiagram.jpg 4. Place the mirror onto the cleat making sure the bracket attatched to the mirror is laying flat behind the “teeth” of the cleat. Check from the side to make sure the bracket is seated. There might be a slight gap, but the mirror is secure.