Difference between revisions of "Transition Mirror Packing Instructions"
Jump to navigation
Jump to search
| (7 intermediate revisions by the same user not shown) | |||
| Line 1: | Line 1: | ||
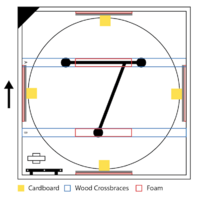
[[File:Mirror crate diagram.png|200px]] | |||
{| class="wikitable" | {| class="wikitable" | ||
| Line 7: | Line 7: | ||
! Notes | ! Notes | ||
|- | |- | ||
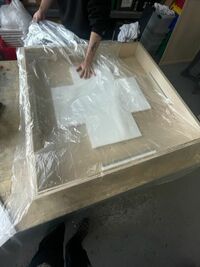
! scope=row | [[File: | ! scope=row | [[File:Plastic lining.jpg|200px]] | ||
| 1. Cut piece of plastic large enough to wrap mirror with, line crate|| | | 1. Cut piece of plastic large enough to wrap mirror with, line crate|| | ||
|- | |- | ||
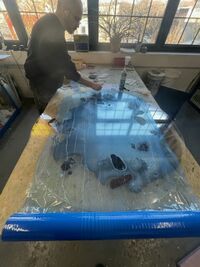
!scope=row | [[File: | !scope=row | [[File:Blue tape mirror.jpg|200px]] | ||
| 2. Cover face of mirror with protective film. | | 2. Cover face of mirror with protective film. | ||
| | |Carefully pop large air bubbles with blade and trim excess around edge|| | ||
|- | |- | ||
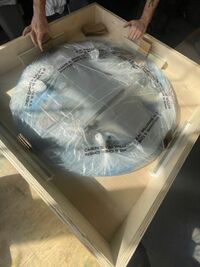
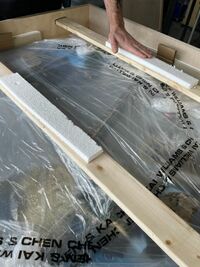
!scope=row | [[File: | !scope=row | [[File:Wrap mirror.jpg|200px]] | ||
| | | 3. Place mirror face down into crate and wrap plastic sheet around it, securing with tape. Insert folded cardboard pieces between glass and homasote on each side for a snug fit. | ||
|Line up one of the metal cross bars to be parallel with the side of the crate.|| | |Line up one of the metal cross bars to be parallel with the side of the crate.|| | ||
|- | |- | ||
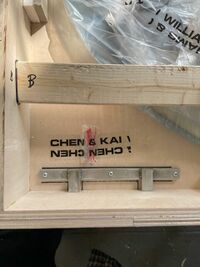
!scope=row | [[File: | !scope=row | [[File:Screw bars.jpg|200px]] | ||
| | | 4. Screw in wooden crossbars on top of metal bracket. Cross bars need to cover as many of the aluminum "pucks" as possible. | ||
|The first wooden crossbar lays on top of the parallel metal bar covering 2 "pucks". The second crossbar either covers the last puck or splits the difference if there is more than one puck remaining.|| | |The first wooden crossbar lays on top of the parallel metal bar covering 2 "pucks". The second crossbar either covers the last puck or splits the difference if there is more than one puck remaining.|| | ||
|- | |||
!scope=row | [[File:Tape bag.jpg|200px]] | |||
| 5. Screw down the wall cleat to the bottom corner of the crate. Tape bag of hardware to crate above the cleat.|| | |||
|- | |||
!scope=row | [[File:image.jpg|200px]] | |||
| 6. Place lid on top of crate. Screw in place | |||
|Line up spray painted corners|| | |||
|- | |- | ||
|} | |} | ||
